
TPO Roofing
TPO Roofing Installation: A Step-by-Step Guide for Kiwis
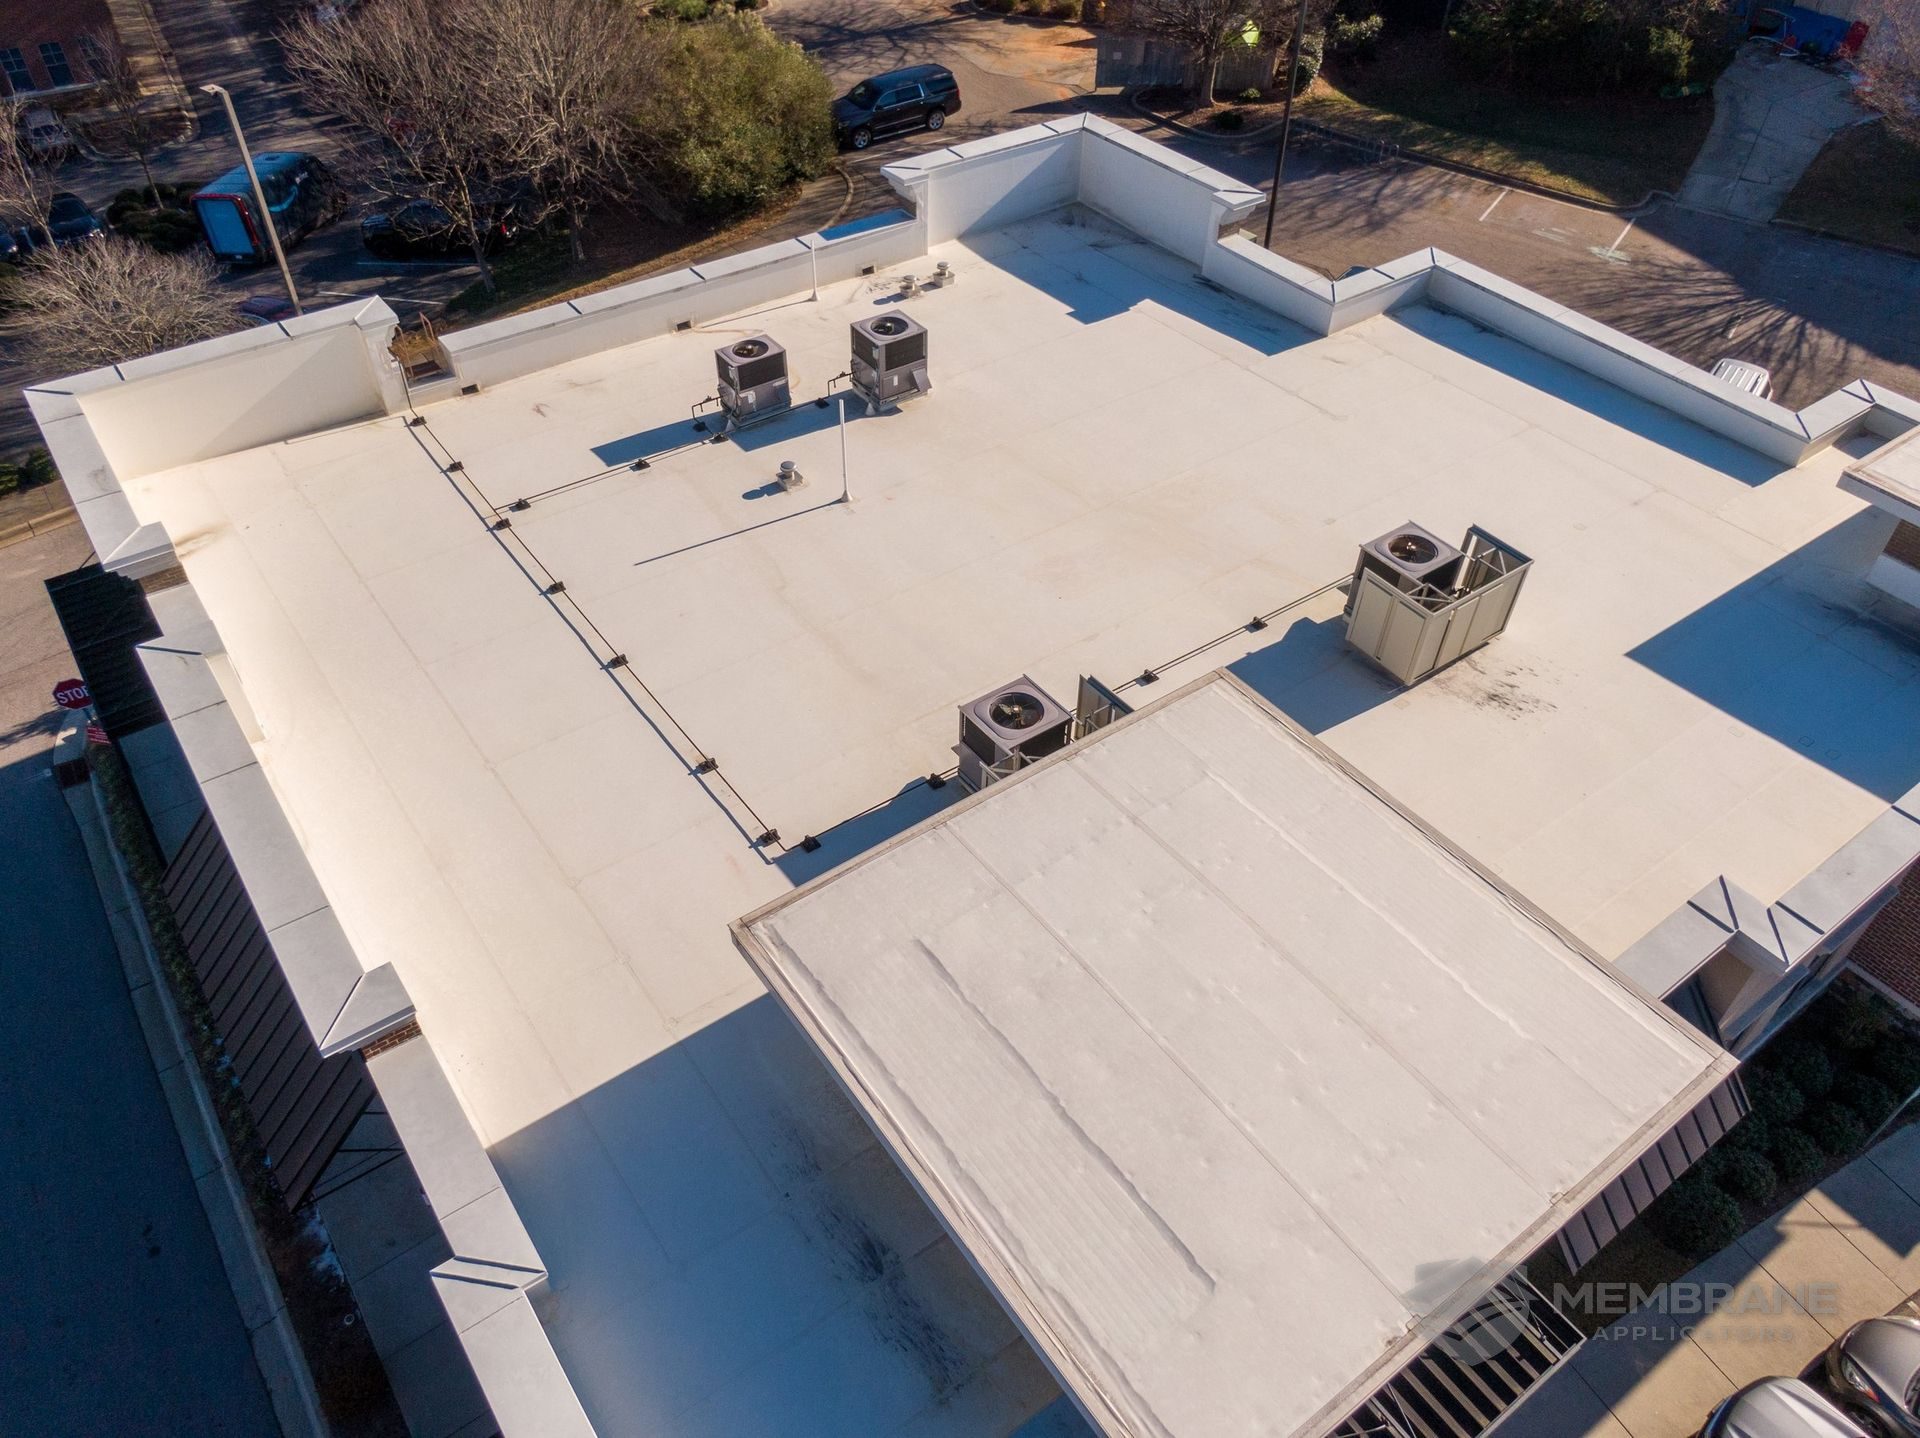
Learn the essential steps of a professional TPO membrane installation, from substrate preparation to heat-welded seams, tailored for Auckland's unique climate.
Understanding TPO Membrane Installation
Thermoplastic Polyolefin (TPO) has become a leading choice for flat and low-slope roofs across Auckland and the wider New Zealand landscape. Its popularity stems from its durability, energy efficiency, and the reliable watertight seal it provides. However, the performance of a TPO roof depends heavily on the quality of the installation. In this guide, we walk through the typical process of installing a TPO membrane to help property owners understand what to expect.
Why Installation Quality Matters in Auckland
Auckland’s weather can be unpredictable, with high UV exposure and significant rainfall. A TPO roof that isn't installed correctly can lead to leaks, wind uplift, or premature degradation. Generally, a professional installation ensures that every seam is welded perfectly and every penetration is flashed according to best practices, providing long-term peace of mind.
Step 1: Substrate Preparation
The foundation of any good membrane roof is a clean, dry, and smooth substrate.
Cleaning and Inspection
Before any material is laid, the existing roof surface must be cleared of debris, dust, and moisture. If it’s a re-roofing project, the old roofing material might be removed, or a cover board may be installed over the existing deck.
Ensuring a Smooth Surface
Any sharp edges or irregularities in the substrate can puncture the membrane over time. Installers typically ensure that the plywood or insulation boards are fastened securely and that the gaps between boards are minimal. A smooth surface is essential for the adhesive or mechanical fasteners to work effectively.
Step 2: Laying the Insulation or Cover Board
In many cases, TPO systems include a layer of thermal insulation or a high-density cover board. This layer is installed directly onto the roof deck.
- Mechanical Fastening: In wind-prone areas like the Hauraki Gulf coast, boards are often fastened with heavy-duty screws and plates.
- Adhesion: In some designs, the insulation is glued down using low-rise foam adhesive.
This step not only provides a stable base for the membrane but also contributes significantly to the building's thermal performance, keeping it warmer in winter and cooler in Auckland's humid summers.
Step 3: Rolling Out the TPO Membrane
Once the substrate is ready, the TPO membrane is rolled out across the roof.
Relaxation Period
It is common practice to allow the membrane to 'relax' for about 30 minutes after rolling it out. This helps the material acclimatize to the temperature and removes any wrinkles or tension from the roll. Professionals generally take this time to align the sheets to ensure the correct overlap for the seams.
Strategic Alignment
The sheets are typically laid out so that water flows over the laps, not against them. This is particularly important for the flat roof drainage systems common in New Zealand commercial buildings.
Step 4: Securing the Membrane
There are two primary methods for securing the TPO sheets to the roof: mechanical fastening and full adhesion.
Mechanically Attached Systems
In a mechanically attached system, the membrane is fastened along the seams using screws and plates that go through the membrane and into the deck. The next sheet then overlaps these fasteners and is welded shut.
Fully Adhered Systems
For a fully adhered system, a special bonding adhesive is applied to both the substrate and the underside of the TPO membrane. The sheet is then rolled onto the adhesive and broomed down to ensure a 100% bond. This method is often preferred for its aesthetic 'flat' look and high resistance to wind uplift.
Step 5: Heat-Welding the Seams
This is perhaps the most critical part of the installation. Unlike other roofing materials that rely on tapes or glues, TPO seams are fused together using hot air.
The Science of the Weld
A robotic hot-air welder typically crawls along the seams, heating the two layers of TPO until they become semi-liquid. A pressure roller then fuses them into a single, continuous piece of material.
Hand-Welding Details
In corners, around vents, and at the base of upstands, installers use handheld heat guns. This requires a high level of skill to ensure the weld is consistent and watertight without scorching the membrane.
Step 6: Flashing Penetrations and Upstands
Every roof has penetrations—vents, pipes, skylights, and internal drains. These are potential weak points if not handled correctly.
Custom Detailing
Installers use non-reinforced TPO flashing or pre-fabricated boots to seal around these penetrations. The flashing is heat-welded to the main roof membrane, creating a monolithic seal. Upstands at parapet walls are also carefully flashed and terminated with metal counter-flashing to prevent water from getting behind the membrane.
Step 7: Final Inspection and Testing
Before the job is considered complete, a thorough inspection is conducted.
Probe Testing
Installers typically use a blunt metal probe to check every inch of the welded seams. If the probe can slide into the seam, it indicates a 'cold weld' that needs to be re-welded.
Flood Testing
In some cases, especially on larger commercial projects in Auckland CBD, a flood test might be performed where the drains are plugged and a portion of the roof is filled with water for 24-48 hours to verify the integrity of the system.
Maintenance and Care
While TPO is low-maintenance, keeping the roof clear of debris and ensuring that gutters are flowing freely is generally recommended. A regular inspection by a professional can help identify any minor issues before they become major problems.
If you are considering a TPO roof for your new build or renovation, understanding these steps helps you appreciate the craftsmanship involved in a quality installation.
Ready to secure your property?
- Request a Quote for your TPO installation.
- Book a Roof Inspection for your existing flat roof.
- Contact Us to discuss your specific roofing needs.
Keep Reading
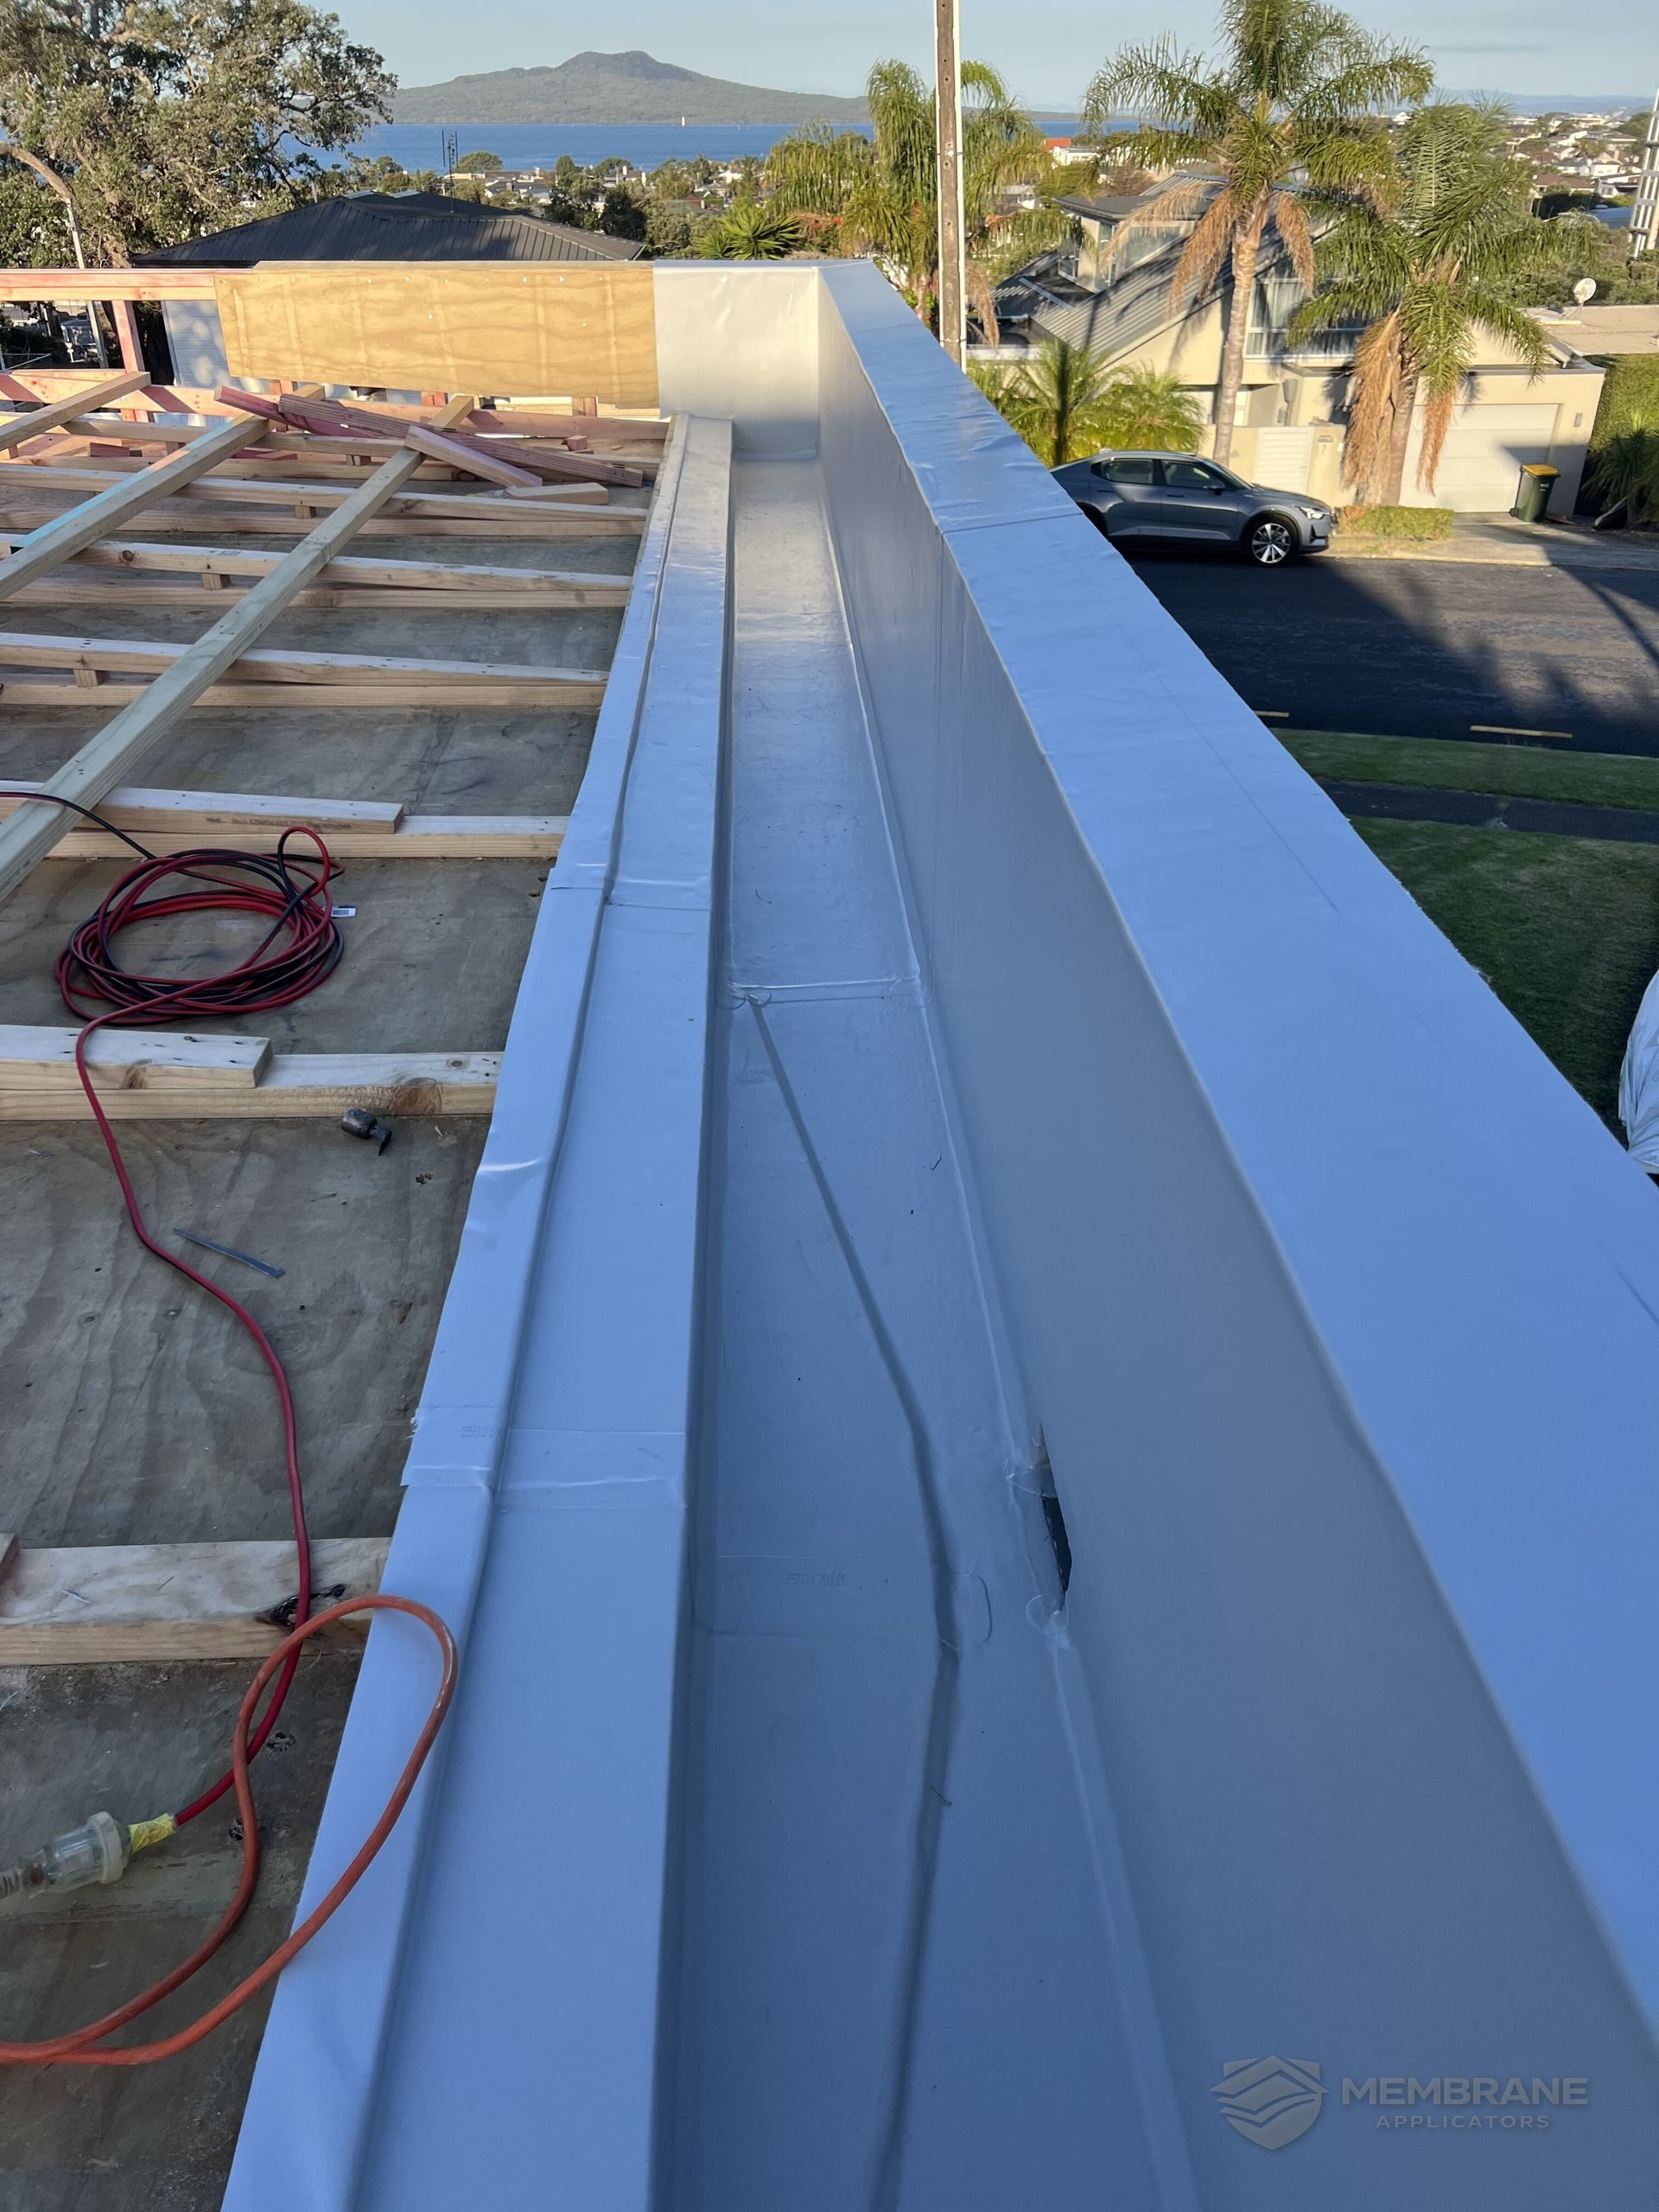
TPO Roofing in Auckland: Best Solutions for the Local Climate
Discover why TPO membrane is the ideal choice for Auckland's unique weather, offering superior UV resistance and durability for flat and low-pitch roofs.
Read more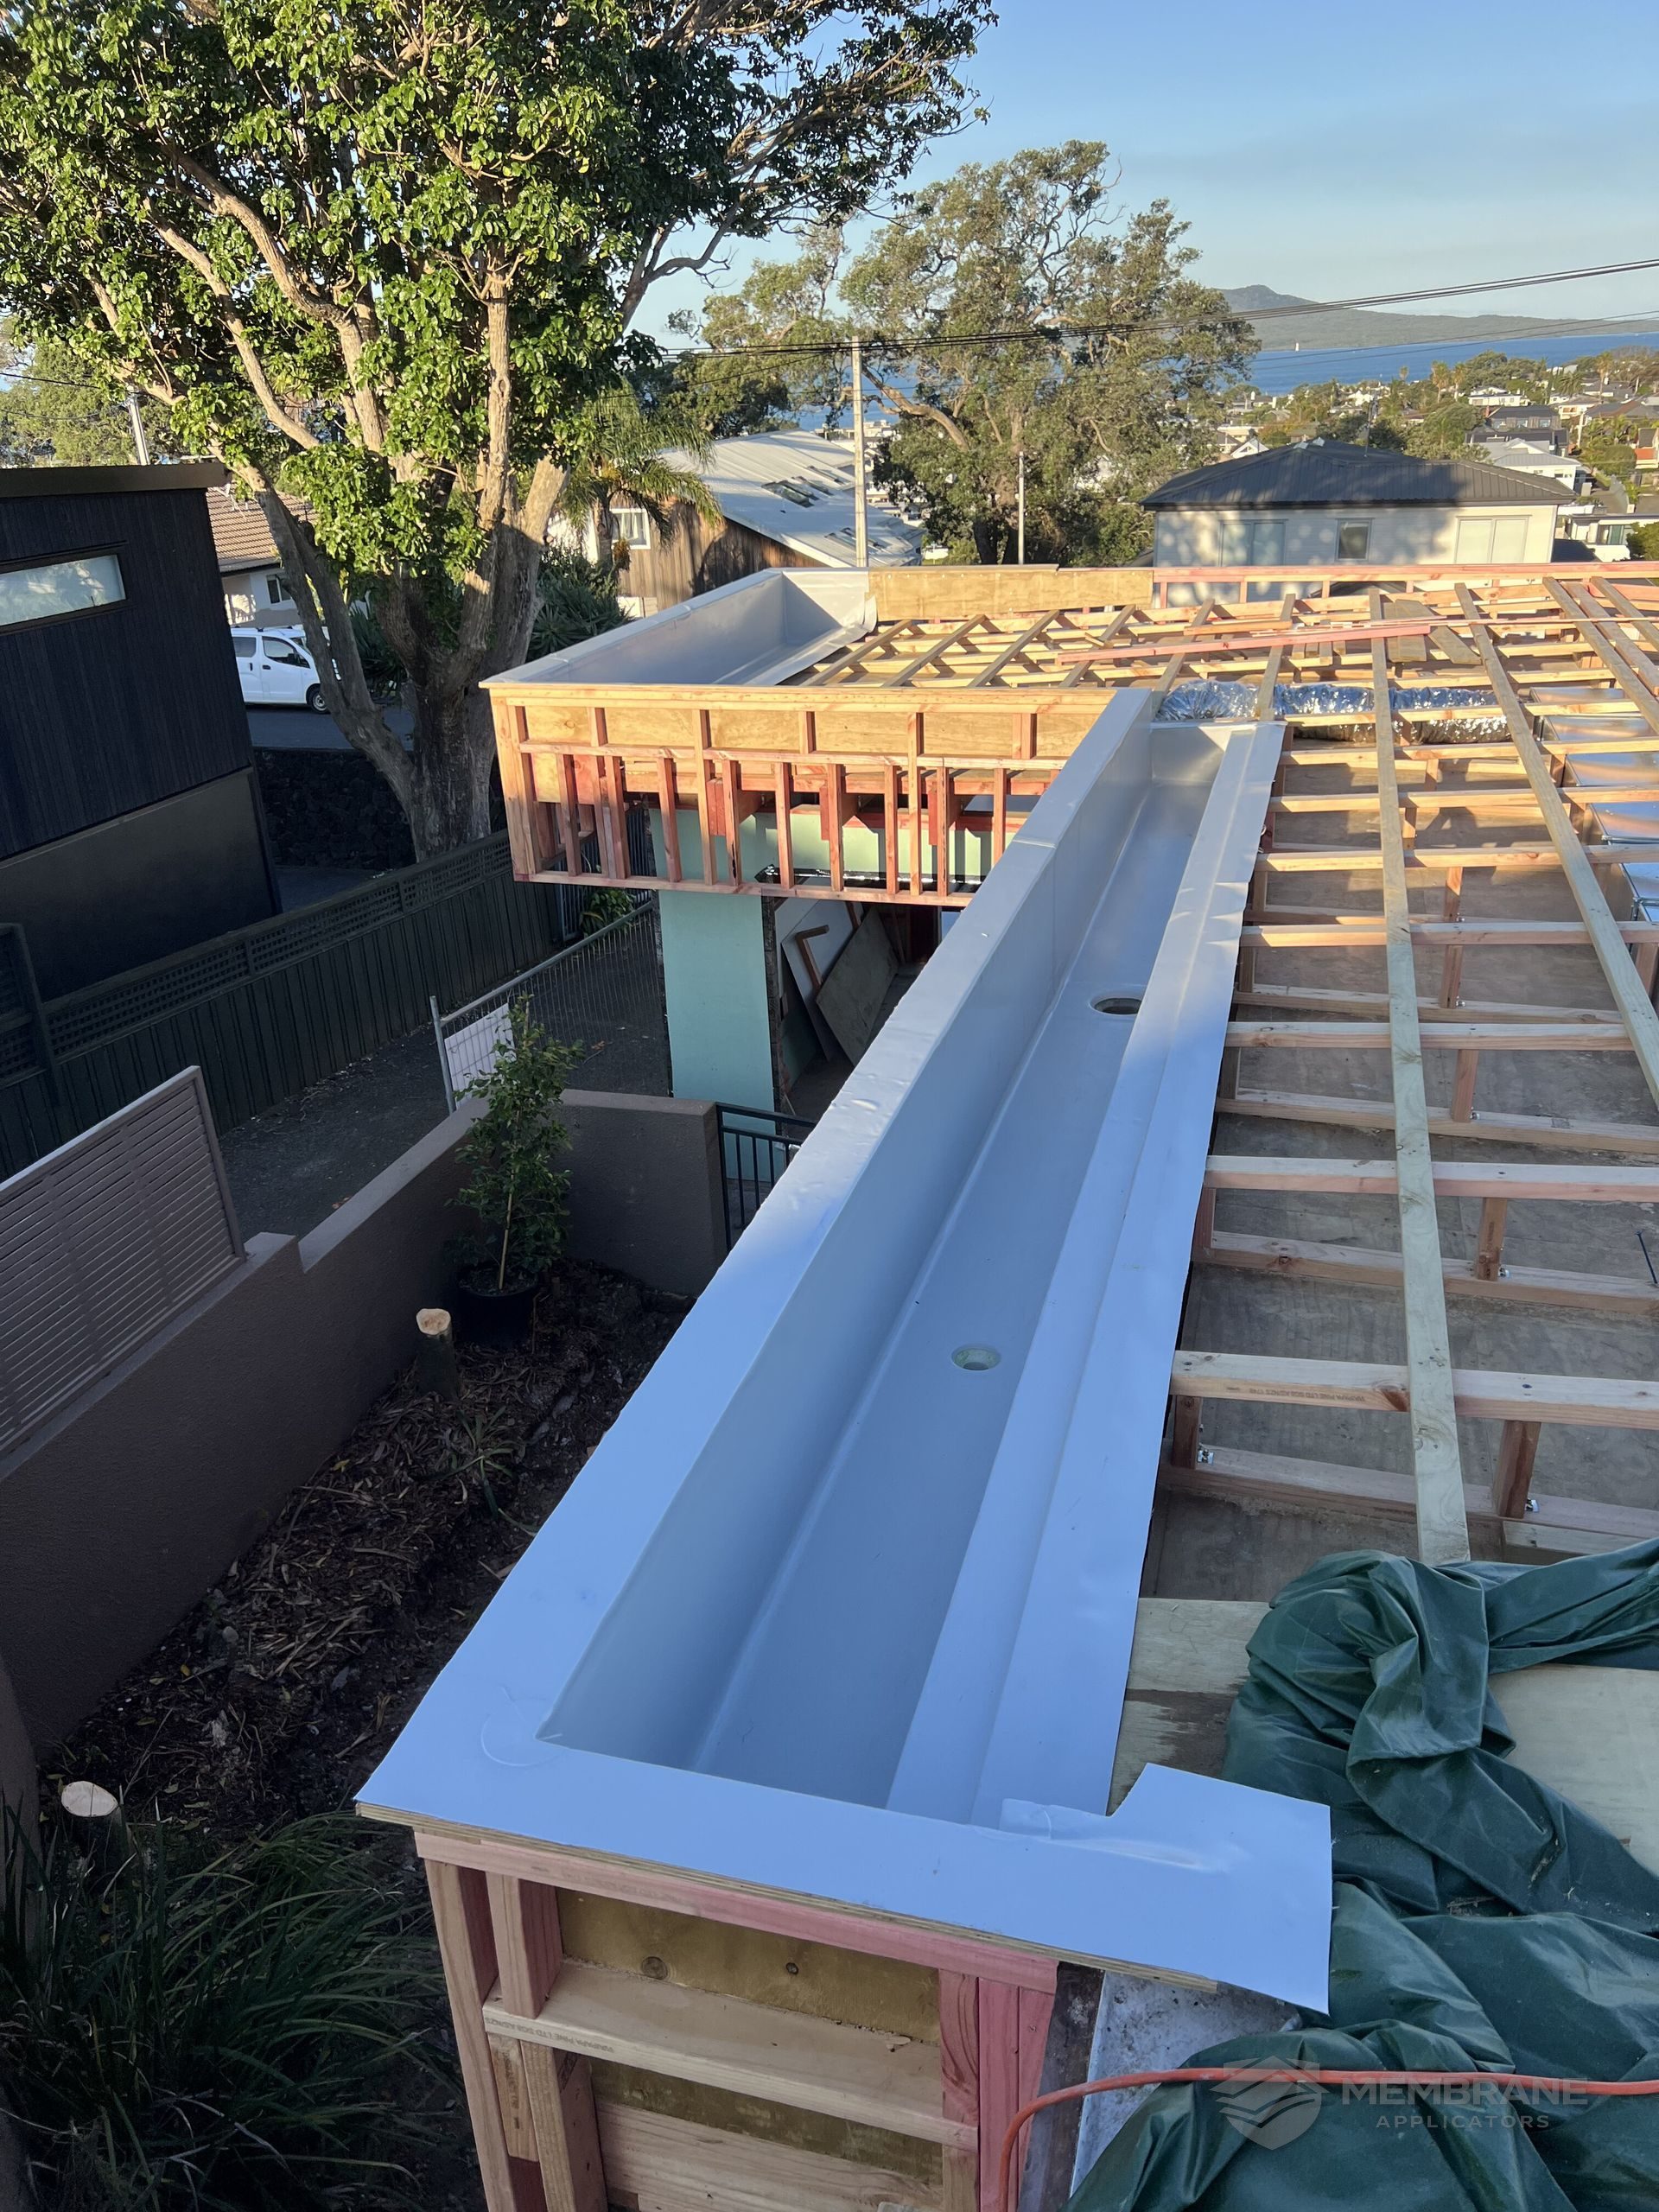
Commercial TPO Roofing: Durable Solutions for Auckland Businesses
TPO membrane roofing offers Auckland commercial property owners a durable, energy-efficient solution for flat roofs, providing exceptional weather resistance and long-term waterproofing performance.
Read more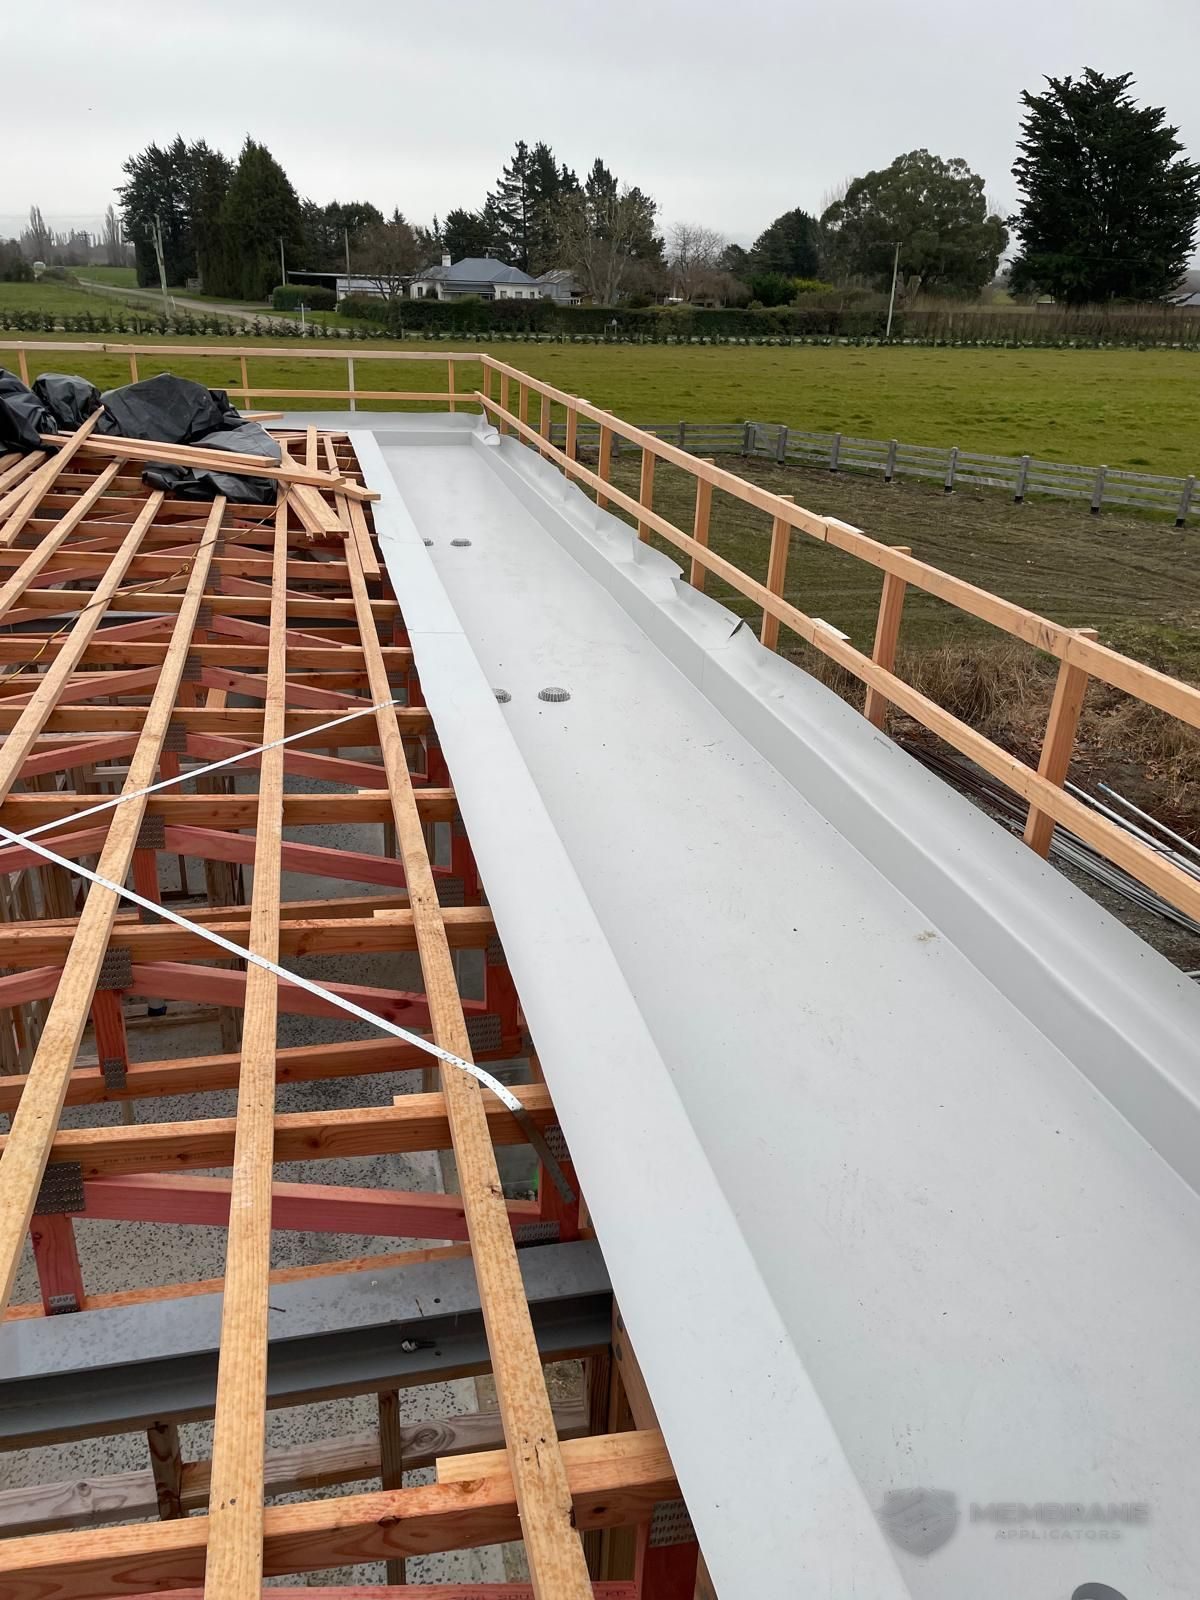
TPO Membrane Repairs: How to Fix Flat Roof Leaks in Auckland
Is your TPO roof showing signs of wear or leaking? Learn the essential steps for TPO membrane repairs and how to maintain your Auckland property's flat roof.
Read more