
Leak Tracing and Membrane Repairs
TPO Roof Repairs
A leaking TPO roof is rarely a failed roof. It is almost always a detail — a lap, a flashing, a penetration or an outlet. We find which one, then fix it properly.
Why TPO Roofs Start Leaking
The open field of a welded membrane roof is the part least likely to give trouble. Problems start where the membrane has to do something more complicated than lie flat: turn up a wall, go around a pipe, terminate at an edge, or carry water into an outlet.
That is also why chasing a leak from inside rarely works. Water travels before it shows itself, so the wet ceiling and the hole in the roof are often nowhere near each other.
We trace the source before quoting the repair. Fixing the visible damage without finding the entry point is how the same leak comes back next winter.
Common Causes We Find
Lifted or open laps
A weld that was never fully closed, or a lap that has been stressed by movement, lets water track along the join instead of over it.
Failed flashings and upstands
Where the membrane turns up a wall or parapet, the termination takes the most punishment. Loose or split upstand detailing is a very common source.
Penetrations
Pipes, vents, aerials, air conditioning units and anything screwed through the roof after the membrane went down.
Blocked outlets and ponding
When an outlet silts up, water backs up above the level the detail was designed for and gets in at the next weakest point.
Physical damage
Dropped tools, foot traffic on an unprotected surface, storm debris and equipment being dragged across the membrane.
Gutter and parapet failure
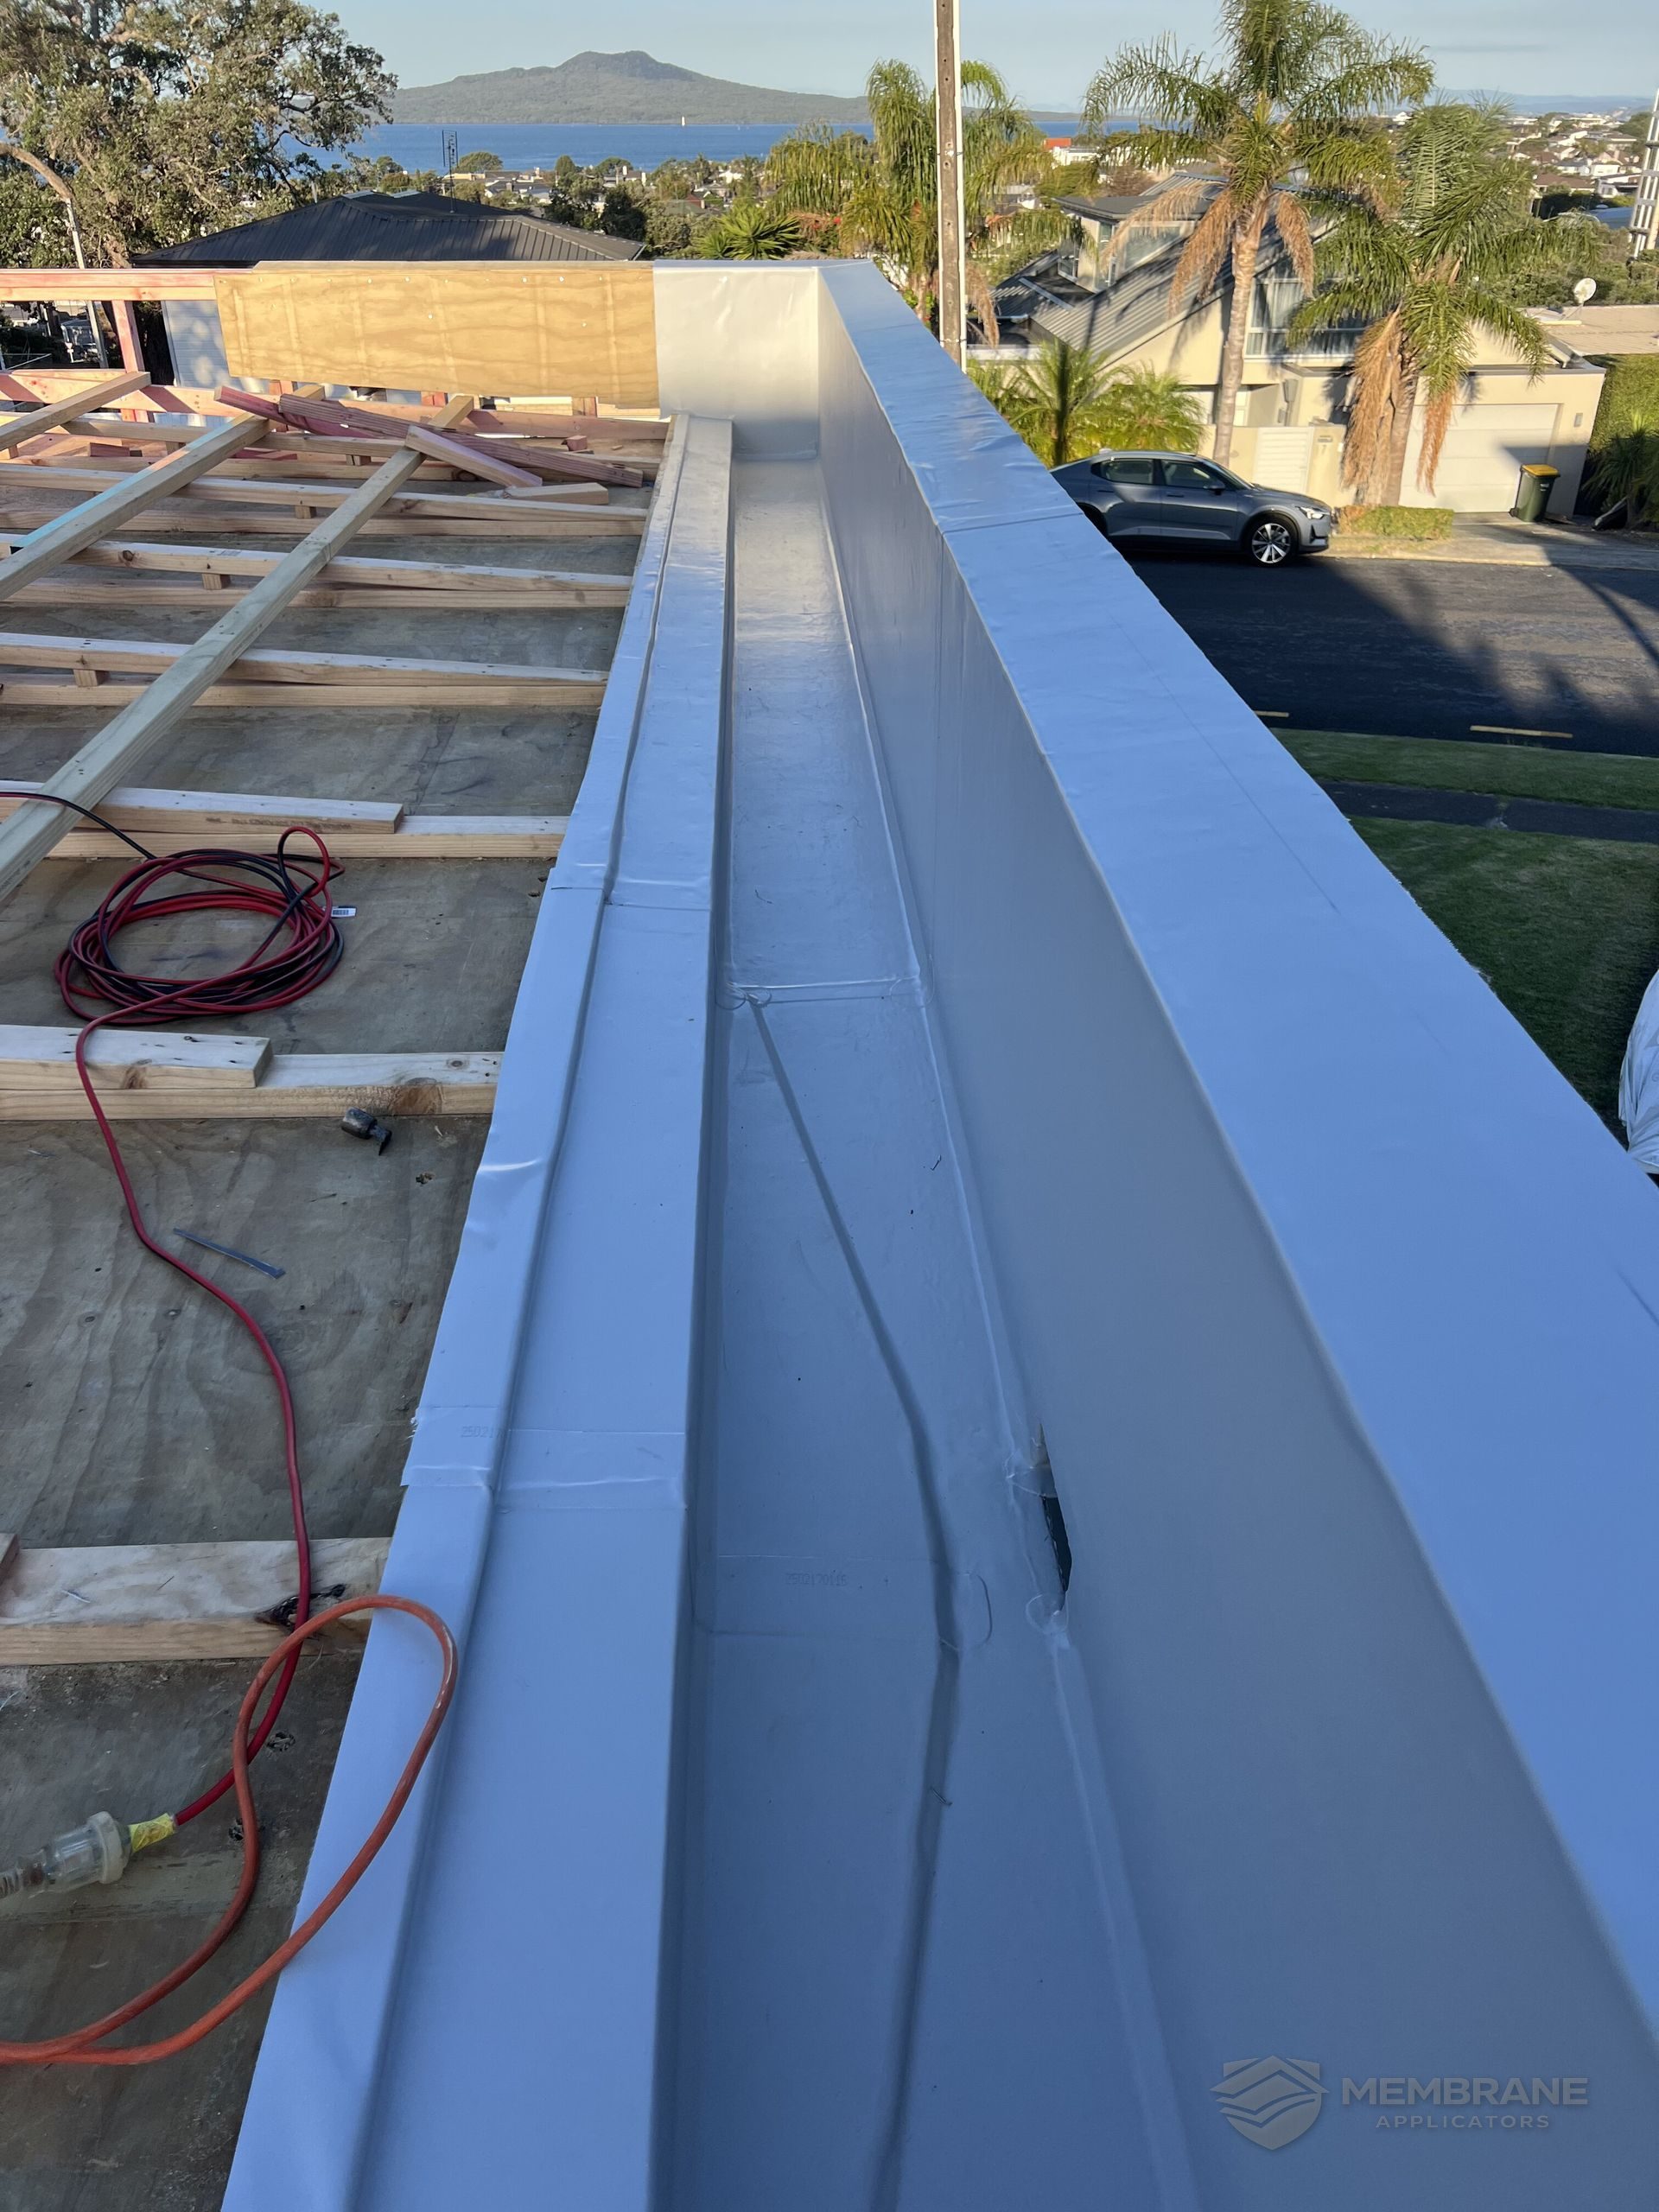
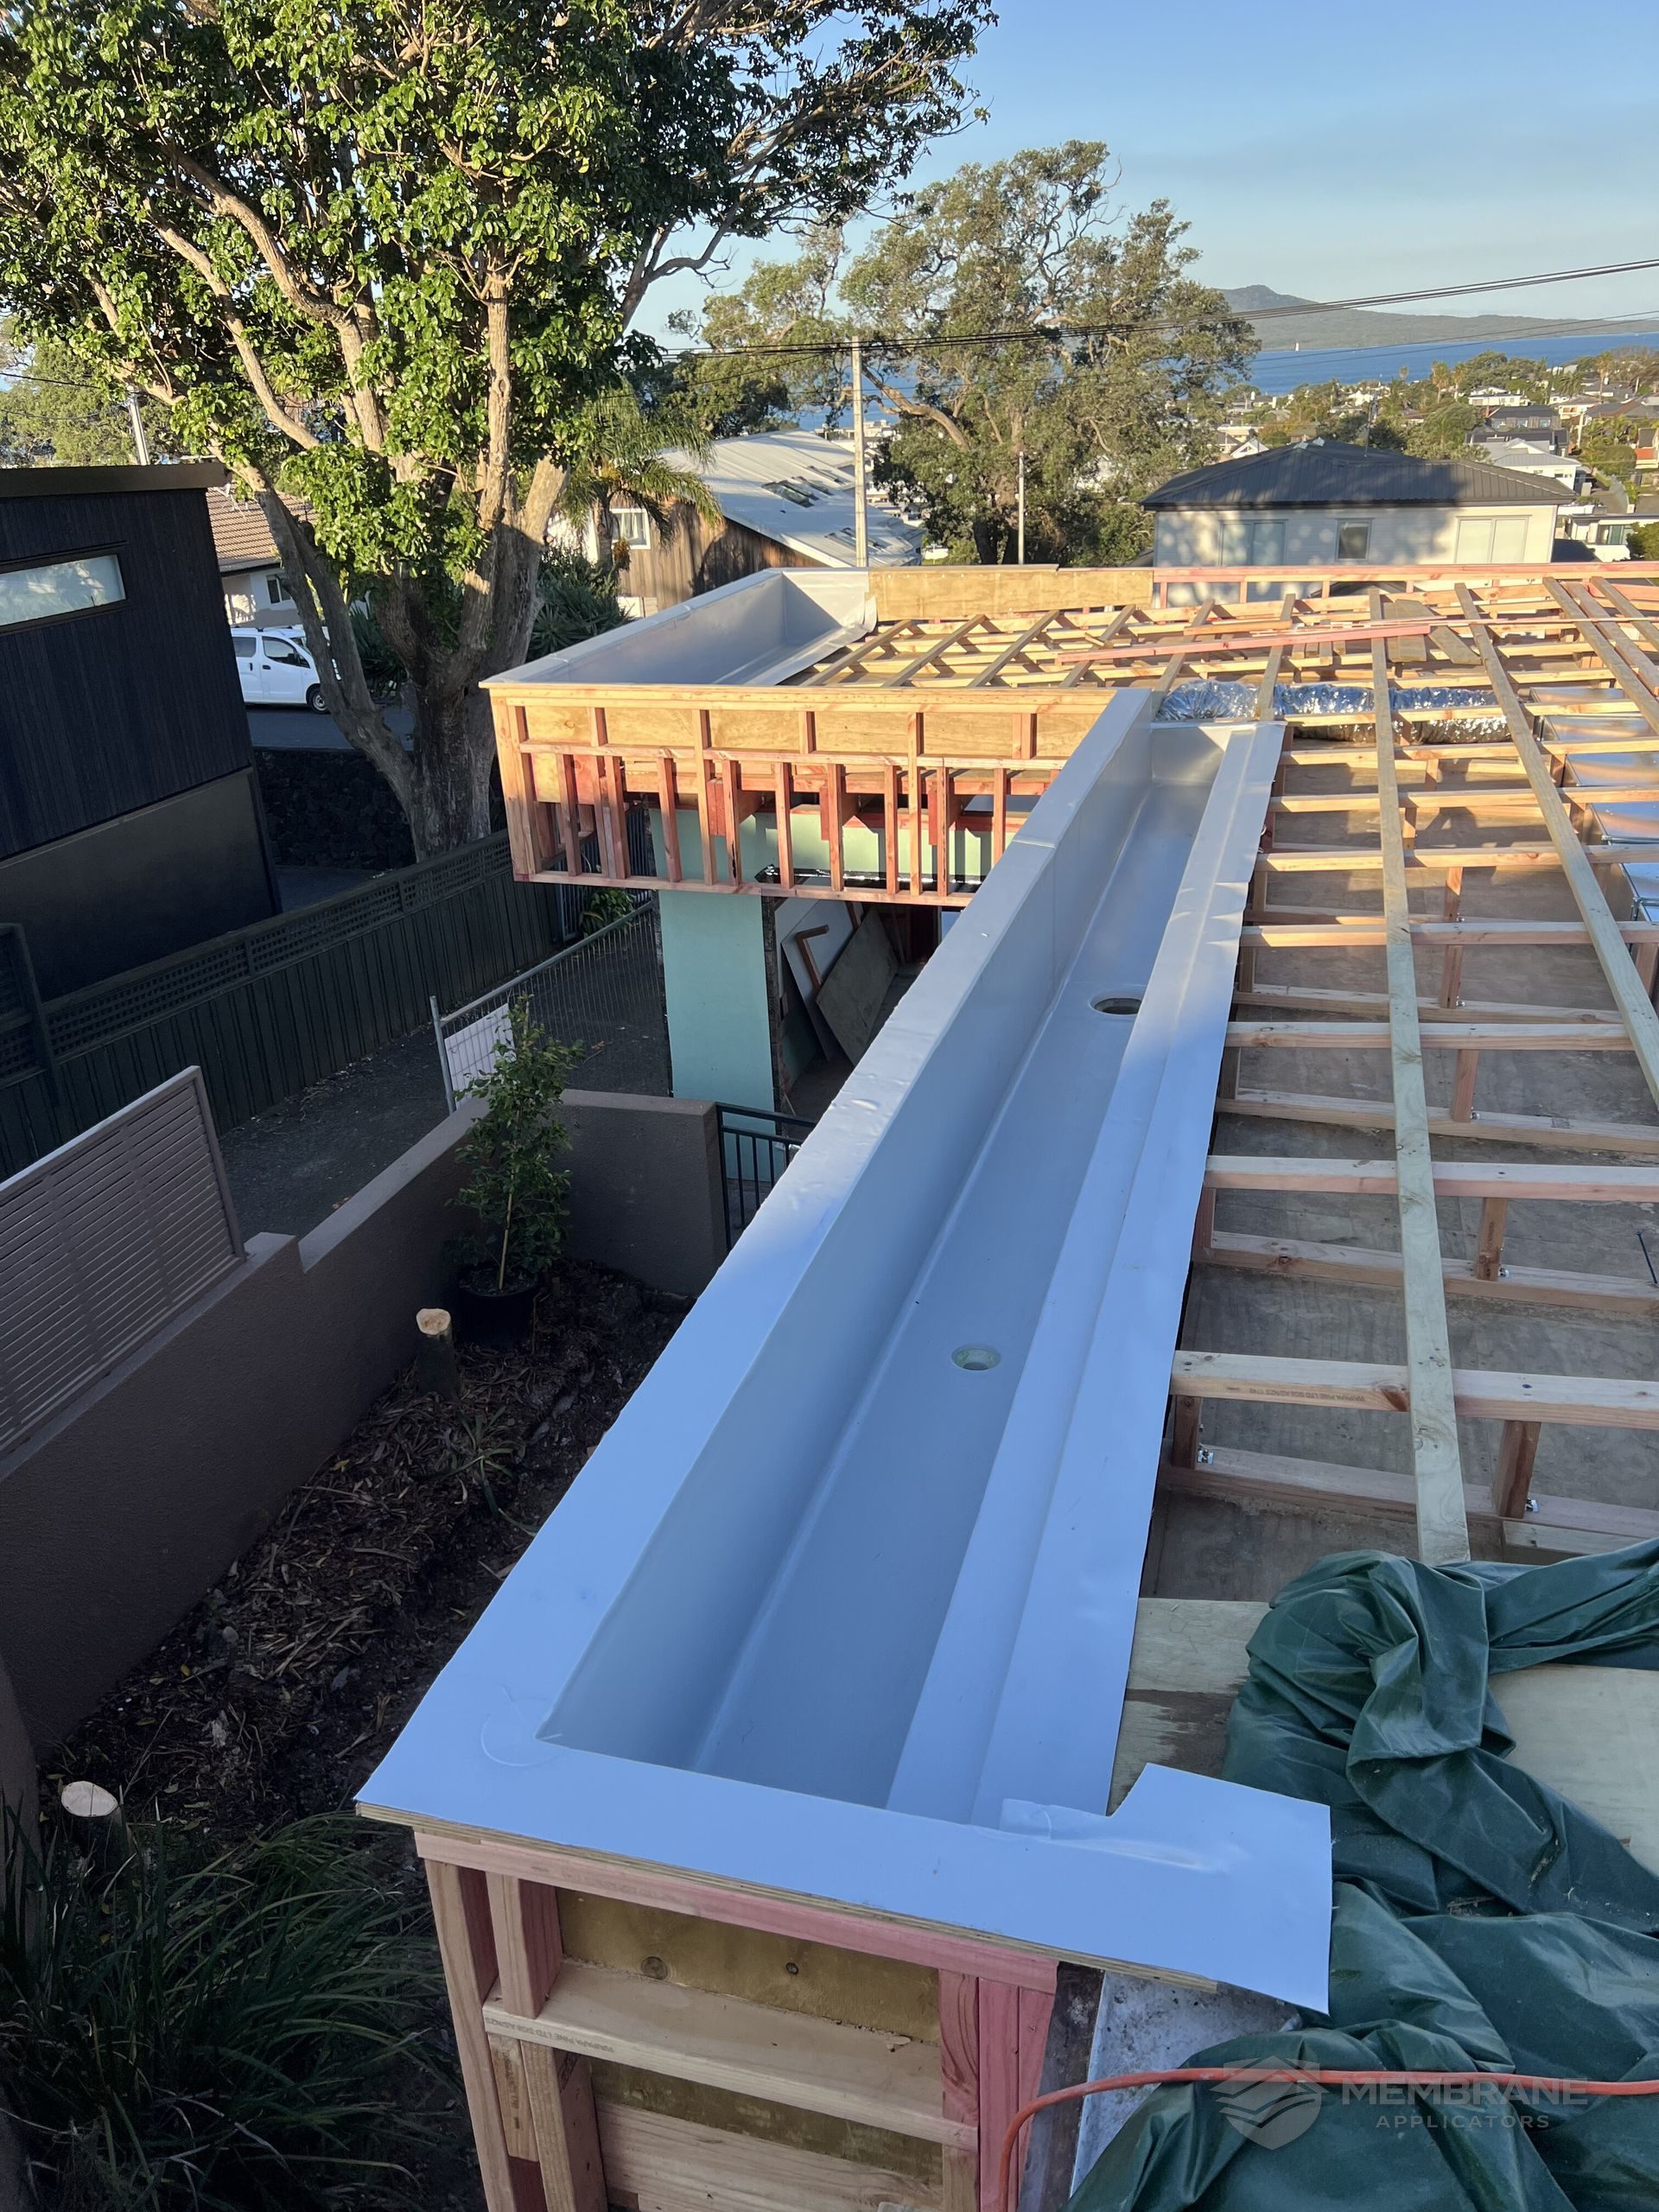
Box gutters carry a lot of water in a narrow channel. Joins in a gutter run are the highest-risk detail on most flat roofs.
Our Repair Process
Diagnose first, repair second. The order matters more than anything else in remedial roofing.
- 1
Inspection and leak tracing
We start on the roof, not at the stain. Water often enters metres away from where it appears inside, so we work back from the interior evidence to the actual entry point.
- 2
Assessment and preparation
We explain what we have found and what it will take to fix, and confirm whether a repair makes sense or the roof is past it.
- 3
Substrate preparation
The repair area is cleaned back and dried, and any wet or damaged material below the membrane is dealt with first.
- 4
Membrane repair
New TPO membrane is cut in over the affected area, sized so it extends well past the damage into sound material.
- 5
Hot-air welding
The patch is hot-air welded to the existing membrane and the weld checked around its full perimeter.
- 6
Flashings and detailing
Surrounding flashings, upstands and penetrations are reworked where needed, so the repair is not simply pushing the problem next door.
- 7
Final inspection
We check the repair, clear the outlets and gutters while we are up there, and let you know anything else the roof will need soon.
Repairs to Other Membrane Types
We are not limited to TPO. We also repair Butynol and liquid applied membrane roofs, which means the repair method is chosen to match your roof rather than to match our preference.
Looking for professional Butynol roof repairs specifically? Visit our specialist Butynol repair website — same team, dedicated to Butynol repair work. We also run butynolroofrepairs.co.nz.
TPO Repair FAQs
In most cases, yes. TPO is a thermoplastic, which means new membrane can be welded onto the existing sheet and fuse with it. Provided the surrounding membrane is still sound, a properly welded patch is a permanent repair rather than a temporary seal.
We start with what you can see inside, then get on the roof and work back from there. Water runs along the underside of a membrane or across a substrate before it appears, so the entry point is frequently well away from the ceiling stain. We check laps, upstands, penetrations and outlets systematically.
Yes. We work with Butynol and liquid applied membrane as well, so we are not limited to one repair method. For Butynol repair work specifically, our specialist Butynol repair website covers it in more depth.
If the damage is localised and the rest of the membrane is in reasonable condition, a repair is good value. If the roof has been patched repeatedly, the surface is breaking down generally, or there is moisture in the substrate, we will tell you that a replacement is the more economical option rather than take money for another patch.
Get in touch with the address and a description of what you are seeing, and we will let you know when we can get there. Photos of the roof and of the interior damage help us arrive prepared.
Roof Leaking?
Send us the address and a description of what you are seeing and we will arrange an inspection.
Request a Quote