
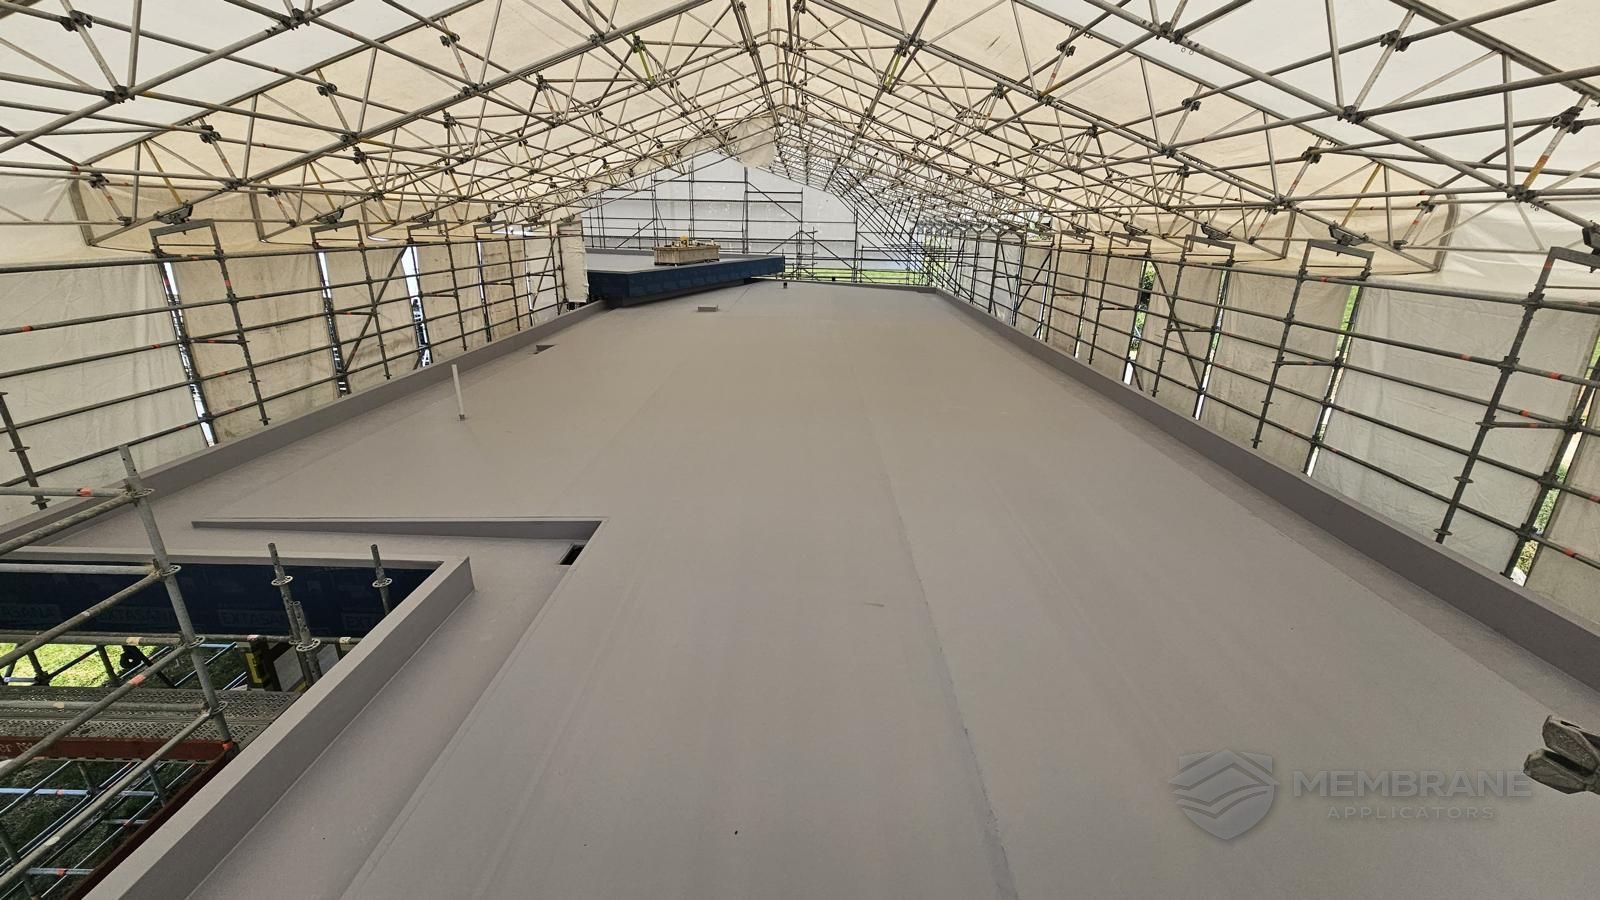
TPO Membrane Installer
TPO Membrane Installation
Professional installation of TPO membrane roofing — hot-air welded seams, full detailing and correct falls to the outlets — on new builds, commercial roofs and re-roofing across Auckland and New Zealand.
Installation Done the Way TPO Should Be
A TPO roof is only as good as the way it is installed. The field membrane is straightforward; what matters is the set-out, the quality of every welded seam, and the detailing around penetrations, upstands and outlets.
We install TPO as a dedicated welding trade. That means the seams are welded and checked, the falls actually run to the outlets, and the details that usually cause leaks are done properly rather than patched at the end.
We install on commercial buildings, homes, and on TPO contract roofing projects.
Why TPO Is Installed This Way
Wide rolls, fewer seams
TPO comes in wide sheets, so large open areas are covered with far fewer seams than a torch-on system.
Hot-air welded, no flame
Laps are fused with hot air rather than an open flame — safer above occupied space and on timber-framed builds.
A single welded skin
Once welded, the laps become one continuous membrane rather than a joint relying on adhesive to stay shut.
Our Installation Process
The same sequence on every roof, so nothing gets skipped between the survey and handover.
- 1
Roof survey and set-out
We measure the roof, check the falls to the outlets, and plan the membrane layout so the laps run with the fall.
- 2
Substrate preparation
The deck or existing surface is cleaned and made sound, wet or damaged material is removed, and falls are corrected where needed.
- 3
Insulation and underlay
Where the build-up calls for it, insulation or a separation layer is laid before the membrane goes down.
- 4
Membrane laid out
TPO is rolled out across the field of the roof, set out so seams land in sensible places and away from ponding.
- 5
Hot-air welding
Every lap is welded with hot air and then checked, so the whole field becomes a single continuous membrane.
- 6
Detailing and flashings
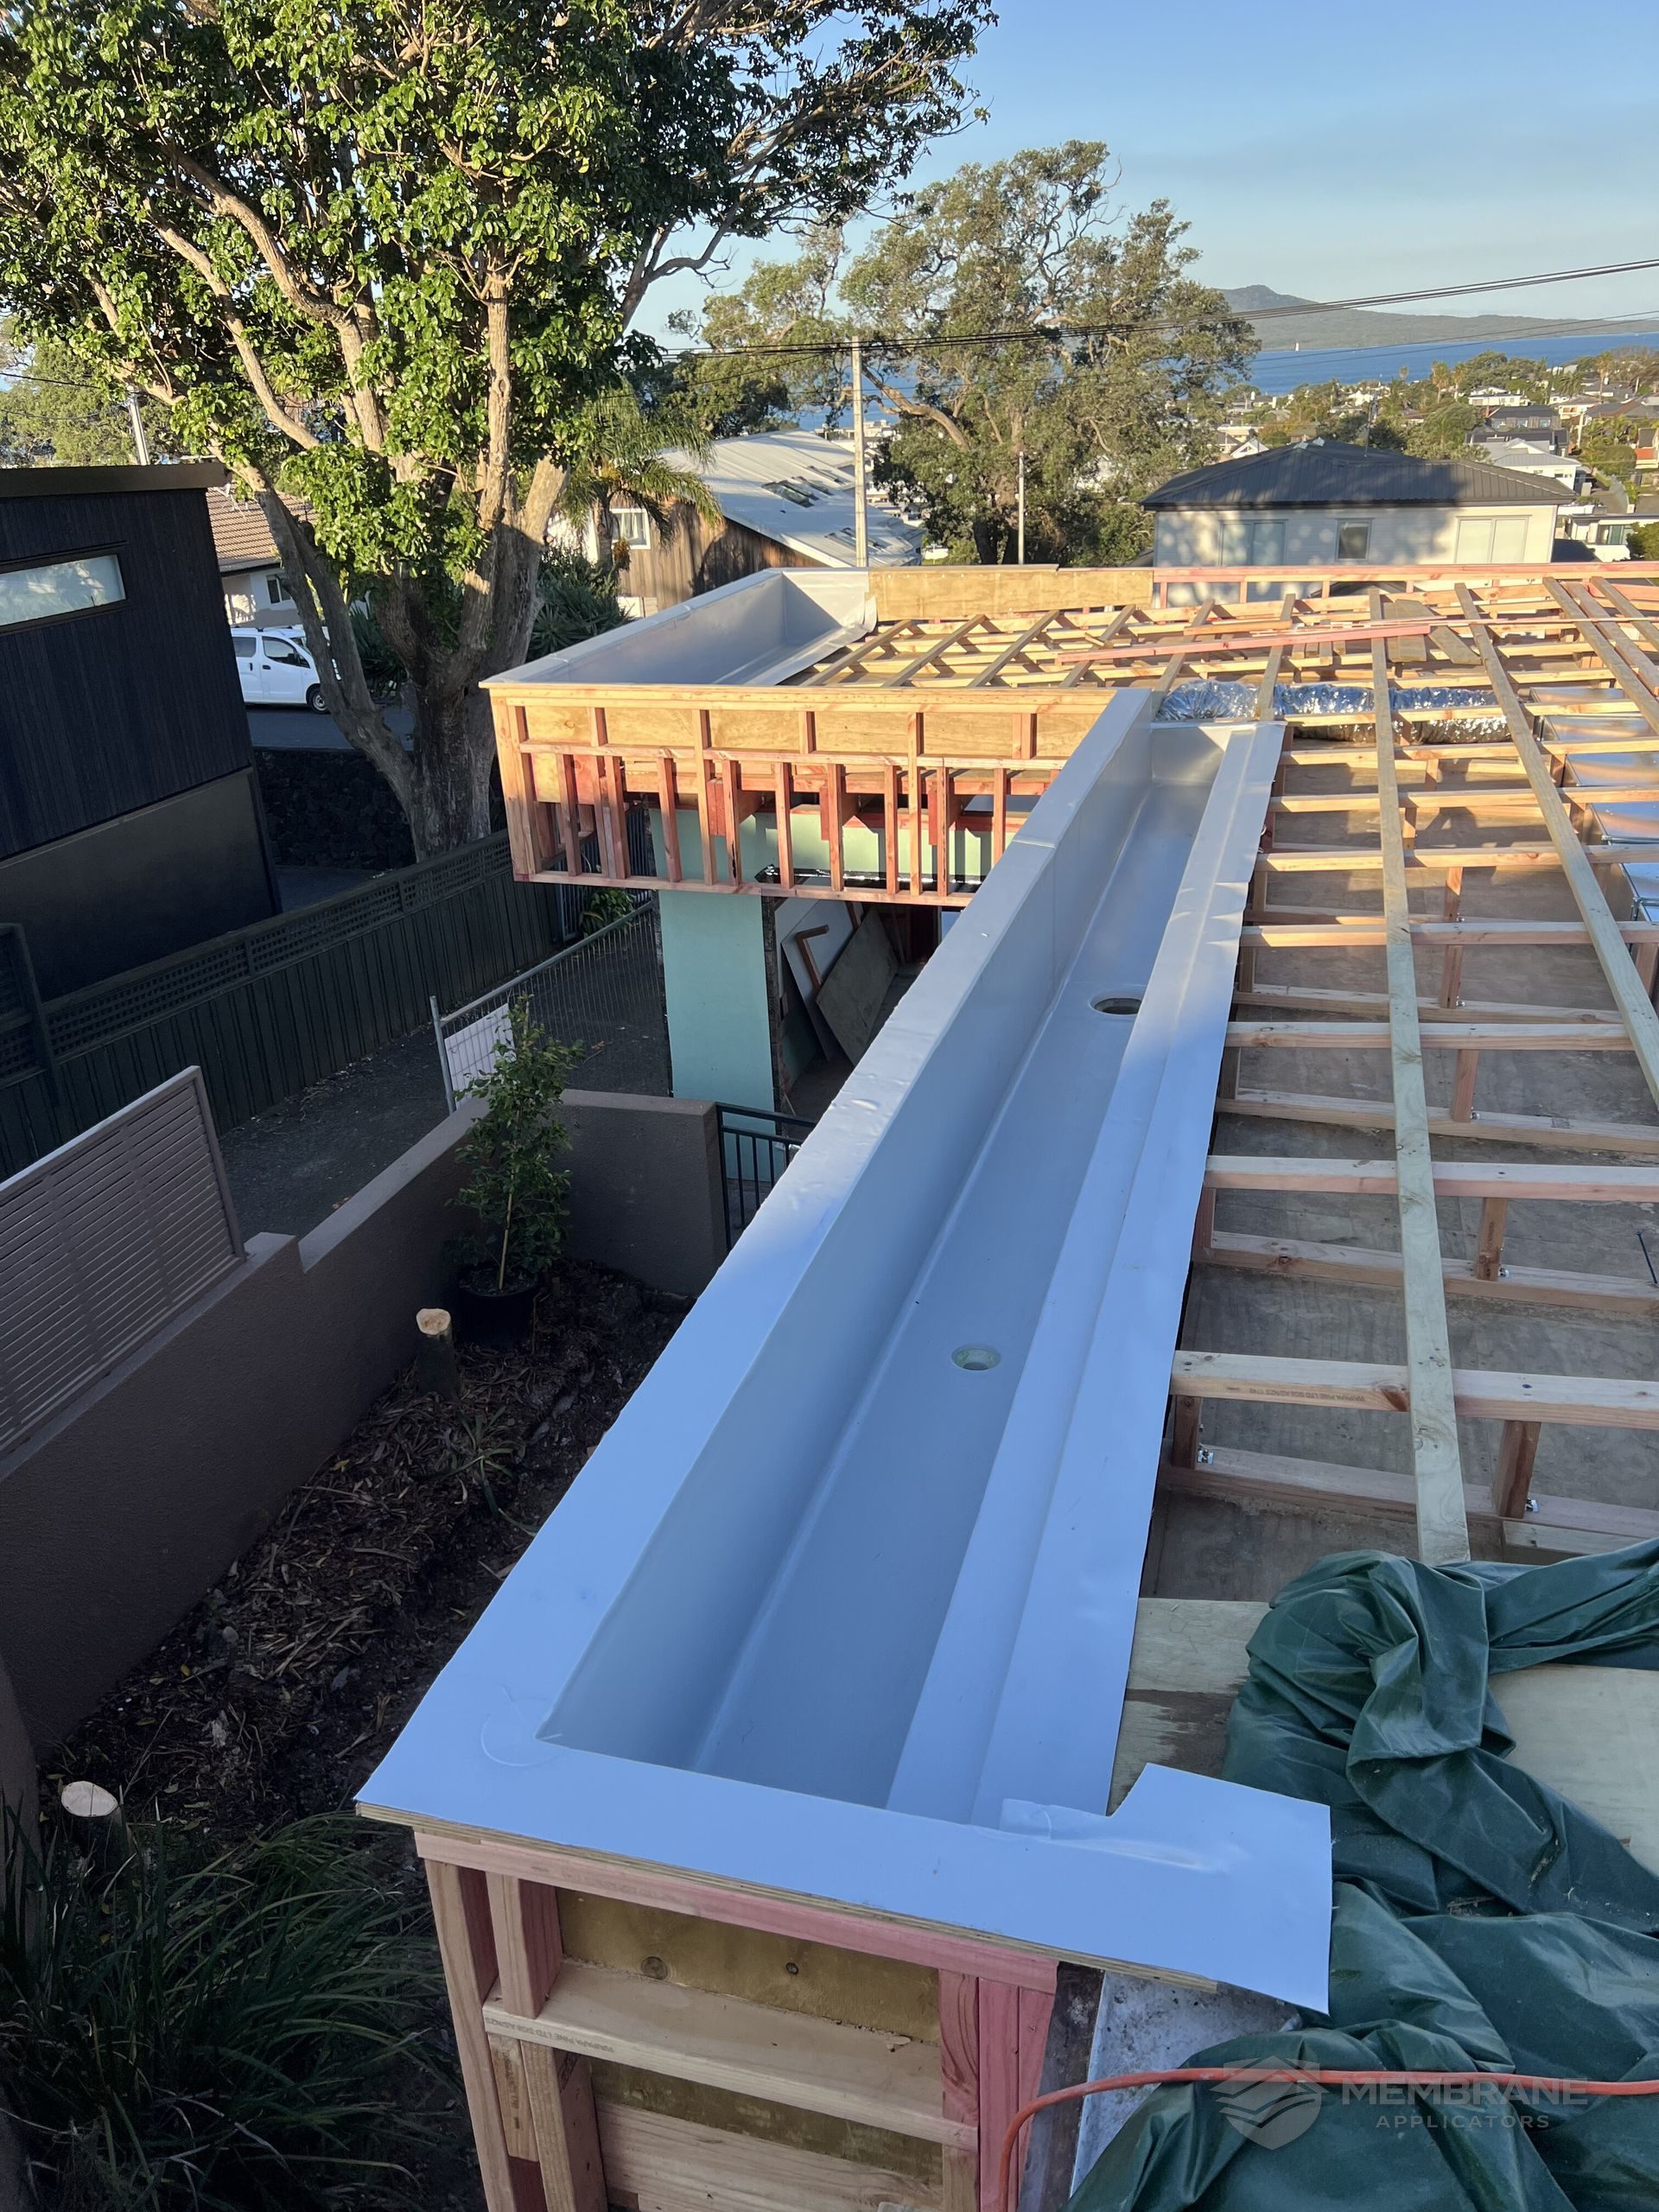
Penetrations, upstands, parapets, gutters and outlets are flashed and welded — the detailing that decides how long a roof lasts.
- 7
Inspection and handover
The finished roof is walked, welds and outlets checked, the site cleared and the work handed over.
What a Proper Installation Includes
- Set-out so seams and falls are planned, not improvised
- Every lap hot-air welded and checked
- Penetrations, upstands and parapets fully detailed
- Gutters, scuppers and outlets lined and connected
- Falls corrected so the roof drains to the outlets
- Site left clean with the work handed over
For the detail that makes or breaks a roof, see roof penetrations and detailing. Most of our work is around Auckland.
TPO Installation FAQs
TPO is a single-ply roofing membrane welded together with hot air. It is light, comes in wide rolls, and its light-coloured surface reflects much of the sunlight that lands on it. It suits flat and low-slope roofs on both commercial and residential buildings.
The laps between sheets are welded with hot air, which fuses them into one continuous membrane. That is different to torch-on, which uses an open flame, and to systems that rely on adhesive at the joints.
Yes. Because it is welded with hot air rather than a naked flame, TPO is well suited to timber-framed new builds where fire risk is a real concern. We install it on new commercial, industrial, multi-unit and residential builds.
It depends on the roof area, the detailing and access. We give you a programme with the written quote so you know how long the crew will be on site and when the roof will be watertight.
It depends on the condition of what is there. Sometimes the existing surface can be prepared and built over; often a failed membrane is better stripped back. We tell you which after inspecting the roof.
Planning a TPO Roof?
Send us the roof area and we will arrange an inspection and a written quote.
Request a Quote